
Let’s face it, frying breakfast meats on a stovetop is a massive hassle. You stand there dodging hot grease splatters, constantly flipping slices, and ultimately cleaning up a remarkably messy kitchen. If you want a better way, cooking bacon in the oven changes everything.
This hands-off technique delivers perfectly crispy, evenly cooked results every single time. First of all, it allows you to prepare large batches at once, which is absolutely perfect for weekend family breakfasts or weekly meal prep. Because the heat surrounds the meat evenly, the fat renders slowly.
As a result, you get a delicate, mouth-shattering crunch rather than chewy, burnt edges. In this comprehensive guide, I will share the exact temperatures, professional kitchen techniques, and simple tricks to master this method effortlessly.
TL;DR: Quick Overview
- Best Temperature: 400°F (for the perfect balance of speed and crispiness).
- Optimal Time: 15–20 minutes, depending on the thickness of your cuts.
- Essential Gear: A rimmed baking sheet lined with aluminum foil or parchment paper.
- Optional Upgrade: An oven-safe wire cooling rack for maximum air circulation.
- Final Result: Evenly browned, incredibly crispy slices with virtually zero stovetop mess.
Why Baking Bacon Is the Superior Method
If you still use a frying pan, you are working much harder than necessary. Using your oven is actually the easiest and most consistent way to prepare this breakfast staple. When you use a skillet, the heat comes entirely from the bottom.
Consequently, the meat cooks unevenly, curling up and leaving you with raw fat pockets alongside burnt edges. Furthermore, stovetop frying creates dangerous grease splatters that coat your counters and risk burning your skin.
Conversely, your oven provides a completely enclosed, ambient heat environment. Culinary scientist Harold McGee notes that slow, even heat allows the connective tissues and fats to render smoothly. Therefore, the fat melts away gently, essentially frying the meat in its own drippings.
Additionally, batch cooking becomes incredibly efficient. You can easily fit an entire package onto a single standard commercial half-sheet pan. Ultimately, you save time, avoid painful burns, and achieve a vastly superior texture.
Choosing the Perfect Baking Temperature
Finding the sweet spot for your oven temperature guarantees the exact texture you crave. Different heat levels yield drastically different results, so choosing the right one is crucial.
Baking at 400°F (Best Overall)
If you want the absolute best balance of speed and crunch, 400°F is your target. Specifically, this temperature takes about 15 to 20 minutes to yield golden-brown perfection.
Because the heat is moderately high, it shocks the fat just enough to start the rendering process quickly without instantly burning the lean muscle. This temperature is highly recommended for thick-cut varieties, as it penetrates the dense meat efficiently.
Roasting at 375°F
Maybe you prefer a slightly more forgiving cooking environment. If so, setting your dial to 375°F works beautifully, though it will take slightly longer. Expect to wait roughly 18 to 22 minutes for a fully finished product.
This slower method is fantastic for beginners because the window between “perfectly crispy” and “burnt to a crisp” is much wider. Likewise, if your appliance runs notoriously hot, dropping the dial to 375°F provides a great safety net.
Slow Baking at 350°F
For those who love a chewier, more tender bite, 350°F is the ideal choice. You will need to leave the pan in for about 20 to 25 minutes.
Because the temperature is much lower, the fat melts away very gradually. As a result, the meat retains a bit more moisture and flexibility. Furthermore, this lower setting dramatically reduces the risk of smoking out your kitchen if you are using a particularly fatty brand.
Metric Conversions for Global Readers
We know that many home chefs outside the US use metric measurements. For our international audience, setting your appliance to roughly 180°C provides the equivalent of a slow bake.
At 180°C (which technically equals 356°F), you should plan for a 20 to 25-minute cook time. Similarly, if you want that faster 400°F crisp, aim for roughly 200°C on your European or Australian dials.
Step-by-Step Directions for Perfect Results
Mastering this technique requires precision and the right equipment. Let’s break down the exact steps to ensure your breakfast turns out flawless every single time.
Essential Kitchen Tools
First of all, you need a heavy-duty, rimmed baking sheet. The rim is absolutely non-negotiable because it traps the hot liquid grease, preventing catastrophic oven fires.
Next, grab some heavy-duty aluminum foil or high-quality parchment paper to line your pan. Additionally, you will want a reliable pair of metal tongs for safe handling. Finally, keep a stack of paper towels and a clean plate nearby for draining the finished product.
The Foolproof Preparation Method
Start by preheating your oven to exactly 400°F. While the appliance heats up, take your rimmed tray and line it completely with your chosen material.
Make sure the foil or parchment goes slightly up the sides of the pan to contain every drop of grease. Next, lay your strips flat across the surface. You must ensure they sit in a single layer without overlapping.
If the edges overlap, those specific spots will remain rubbery and undercooked. Slide the pan onto the center rack. Let it bake undisturbed for 15 to 20 minutes.
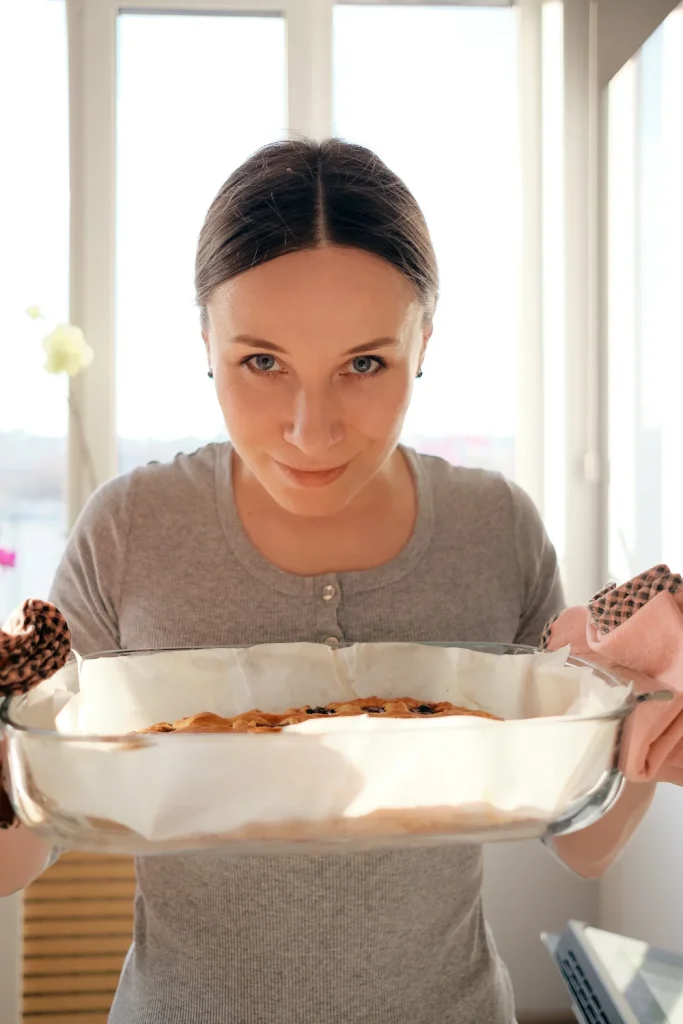
Keep a close eye on the window during the last few minutes, as the transition from crispy to burnt happens fast. Once they reach your desired color, carefully remove the tray using thick oven mitts. Immediately transfer the hot slices to your paper towel-lined plate to stop the cooking process.
Critical Food Safety Guidelines
As an appliance engineering and culinary safety expert, I must emphasize proper handling. The USDA strictly mandates that pork products reach a minimum internal temperature of 145°F.
Fortunately, when you bake these thin strips until they are crispy, they easily surpass this safe threshold. However, cross-contamination remains a serious risk during the preparation phase.
Always wash your hands immediately after touching the raw meat. Furthermore, never use the same tongs to plate your cooked breakfast that you used to arrange the raw slices. Always sanitize your counters with hot, soapy water if any raw juices spill over.
Foil vs. Parchment Paper vs. Wire Rack
Choosing your lining material dramatically impacts both the cleanup process and the final texture. Let’s compare the three most popular configurations.
| Method | Crispiness | Cleanup | Fat Drainage | Best For |
| Aluminum Foil | High | Very Easy | Moderate | Everyday family breakfasts |
| Parchment Paper | Medium | Easiest | Moderate | Non-stick, chemical-free cooking |
| Wire Rack | Very High | Moderate | Excellent | Ultra-crispy, artisan results |
Using a rack is the undisputed champion for maximum crunch. Because the meat is elevated, the hot air circulates entirely around each slice. Consequently, the liquid grease drips away entirely. However, scrubbing baked-on protein off a wire grid is notoriously frustrating. Conversely, aluminum foil is a dream for busy mornings.
You simply let the grease solidify, crumple the foil into a ball, and toss it in the trash. Parchment paper offers a fantastic middle ground; it prevents sticking flawlessly without using metallic surfaces, though it does not trap grease quite as securely as folded foil.
Pro Techniques for Easy and Crispy Results

Do you want to elevate your breakfast game to professional restaurant standards? Professional chefs use a few specific tricks to maximize flavor and texture.
First, try starting your pan in a completely cold oven. Instead of preheating, put the tray in cold and then turn the dial to 400°F. As the temperature slowly rises, the fat renders out incredibly gently, resulting in a perfectly flat, shatteringly crisp slice.
Secondly, always rotate your pan 180 degrees halfway through the cooking time. Even high-end luxury appliances have inherent hot spots. Rotating the pan guarantees that the slices in the back finish at the exact same time as the slices in the front.Finally, always opt for thick-cut varieties when using this method. Thin, cheap slices tend to disintegrate or burn too rapidly in high ambient heat.
Does Baking Create a Greasy Mess?
Many home cooks worry about ruining their clean appliances. However, this method is fundamentally cleaner than standing over a frying pan. Because the heat is ambient, the fat melts and pools gently rather than aggressively popping and exploding. Therefore, the mess is entirely contained within the high walls of your rimmed tray.
If you use heavy-duty foil and fold it securely around the edges, you will experience near-zero cleanup. Just be incredibly careful when removing the hot pan to avoid sloshing the liquid grease over the side.
The Pioneer Woman Method Connection
Celebrity chefs have long championed this exact technique for feeding large crowds. The famous Pioneer Woman oven recipe heavily relies on a very similar process.
Specifically, she advocates for using a 400°F setting and a heavy-duty sheet pan to achieve consistent, large-batch results. This widespread professional endorsement reinforces just how reliable this culinary strategy truly is.
By following these fundamental guidelines, you are essentially mirroring the exact techniques used in high-volume, professional kitchens across the country.
Skillet vs. Baking: A Time Comparison
To truly understand the efficiency of this method, we must compare it directly to traditional stovetop frying.
| Method | Total Time | Physical Effort | Mess Level | Cooking Evenness |
| Oven Baking | 15–20 min | Very Low | Low | Excellent |
| Stovetop Pan | 10–12 min | Very High | High | Poor/Uneven |
While a frying pan might seem a few minutes faster on paper, it demands your constant attention. You must hover over the stove, flip the meat constantly, and wipe down splatters afterward.
In contrast, the baking method is entirely passive. You can prepare your eggs, toast your bread, and brew your coffee while the appliance does all the heavy lifting.
Common Kitchen Mistakes to Avoid
Even though this is an incredibly straightforward process, a few common errors can ruin your breakfast. First of all, never overcrowd your pan. If you cram the slices together, they will essentially steam in their own juices rather than fry, leaving you with limp, rubbery meat. Always maintain a small gap between each piece.
Secondly, using the wrong equipment is a recipe for disaster. Never use a flat cookie sheet without raised edges; the grease will undoubtedly spill over and start a terrifying fire. Finally, never walk away during the last five minutes. The sugar content in the meat means it will transition from beautifully browned to completely carbonized in the blink of an eye.
Master Chef Tips for Elite Results
If your appliance features a convection setting, you absolutely should use it. The internal fan circulates the hot air vigorously, accelerating the Maillard reaction and delivering an unbelievable crunch. Just remember to drop your temperature by 25 degrees if using convection.
Furthermore, never throw away your liquid gold. Carefully strain the leftover grease through a fine-mesh sieve into a glass mason jar. Store it in your refrigerator and use it to fry eggs, roast vegetables, or sear steaks later in the week. Lastly, while not strictly necessary, flipping the slices with tongs at the ten-minute mark guarantees the most even browning possible on both sides.
Frequently Asked Questions
What is the ideal temperature for baking breakfast meats?
Setting your dial to 400°F is generally considered the absolute best temperature. This provides the perfect balance, ensuring a quick cook time while thoroughly rendering the fat for a shatteringly crisp texture.
How much time is needed at 400 degrees?
Typically, you should expect the process to take between 15 and 20 minutes. However, thick-cut varieties will lean toward the 20-minute mark, while thinner, standard cuts will finish closer to 15 minutes.
Should I use parchment paper or aluminum foil?
Use heavy-duty foil if you want the absolute easiest cleanup, as you can simply crumple it up and toss it away. Use parchment paper if you prefer a non-stick surface and want to avoid cooking directly on metallic materials.
Will baking cause aggressive grease splatters?
No, the enclosed, ambient heat causes the fat to melt smoothly rather than popping aggressively. Consequently, it is a vastly cleaner and safer method compared to frying in a shallow skillet on a stovetop.
Is a wire cooling rack strictly necessary?
A wire rack is not strictly required, though it does help drain fat away for a crispier bite. Cooking the strips directly on a lined tray actually allows them to fry in their own rendered fat, which many chefs prefer for richer flavor.
Conclusion
Mastering the art of cooking bacon in the oven will forever change how you approach weekend breakfasts and meal prep. By simply setting your dial to 400°F and utilizing a sturdy, foil-lined tray, you eliminate the burns, the messy stovetop, and the tedious flipping.
This foolproof method harnesses the science of ambient heat to render fat evenly. As a result, you are rewarded with perfectly flat, incredibly crispy slices that rival any high-end diner.
Furthermore, the passive nature of this technique frees up your hands to focus on making the perfect scrambled eggs or pouring a fresh cup of coffee. Because you can cook large batches simultaneously, it is undeniably the most efficient way to feed a hungry family.
I highly encourage you to experiment with different temperatures, thick-cut varieties, and cooling racks to find your personal sweet spot. Ultimately, moving your breakfast meats from the skillet to the middle oven rack is a culinary upgrade you will never regret.
Evidence-Based References:
- USDA Food Safety and Inspection Service – Bacon and Food Safety
- U.S. Food and Drug Administration (FDA) – Safe Food Handling
- Harvard T.H. Chan School of Public Health – Fats and Cholesterol
- Mayo Clinic – Dietary fats: Know which types to choose
- Cleveland Clinic – Red Meat and Your Heart: What You Need To Know