Ever stared at a bag of frozen shrimp and wondered if you really need to wait hours for it to thaw? You do not. Learning how to cook frozen shrimp straight from the freezer saves precious time and delivers restaurant-quality results.
I have spent years testing kitchen appliances and refining seafood techniques in professional test kitchens. The secret lies in controlling temperature and respecting protein chemistry. Shrimp contain fast-cooking muscle fibers that tighten instantly under high heat.
If you rush the process or trap too much moisture, you end up with tough, rubbery bites. Instead, you will master quick methods that lock in natural sweetness. Whether you prefer a hot skillet, a convection oven, or a rapid air fryer, this guide covers every reliable approach.You will discover exact temperatures, precise timing, and professional tricks that guarantee juicy results every single night.
TL;DR: Quick Overview
- You can absolutely skip the thawing step entirely
- Most preparation methods require just five to ten minutes
- The heavy skillet or convection air fryer delivers superior texture
- Always target an internal temperature of 145°F for safety
- Properly cooked seafood turns pink, opaque, and firm to the touch
- Quick heat application prevents the dreaded rubbery bite completely
What Is Direct Cooking and Why It Saves Time?
Commercial freezers catch seafood at absolute peak freshness. Flash freezing locks in natural moisture and delicate sweetness instantly. You receive a reliable ingredient that stays perfectly safe for months.
Many home cooks assume thawing takes priority before heating. Actually, skipping that step saves valuable time and reduces bacterial exposure risks. Cold water thawing works fine when you plan ahead carefully.
Yet direct cooking often yields better texture control overall. The ice crystals melt gradually inside your chosen appliance. This creates a gentle steam that prevents dry edges.
You simply adjust heat levels to match your specific equipment. Convenience does not mean sacrificing culinary quality. Modern kitchen tools handle frozen proteins with remarkable ease.
Why Proper Heat Management Matters for Seafood
Shrimp muscle fibers react instantly to sudden thermal changes. Overheating forces proteins to contract tightly and squeeze out juices. That aggressive contraction leaves you chewing tough, dry pieces instead.
Gentle heat management preserves delicate internal structures perfectly. Professional test kitchens rely on precise timing for this exact reason. You can easily replicate those results with basic home equipment.
Understanding basic heat transfer makes all the difference. Direct contact with hot metal speeds up surface cooking dramatically. Convection air surrounds the protein evenly from all sides.
Moisture environments keep outer surfaces incredibly tender. Each method demands slight adjustments for guaranteed success. Mastering these variables ensures consistent outcomes every single time.
Raw Versus Precooked Options Explained
Always check your packaging label before applying any heat. Raw seafood appears gray or translucent when pulled from the freezer. You must cook it thoroughly until it turns pink and opaque.
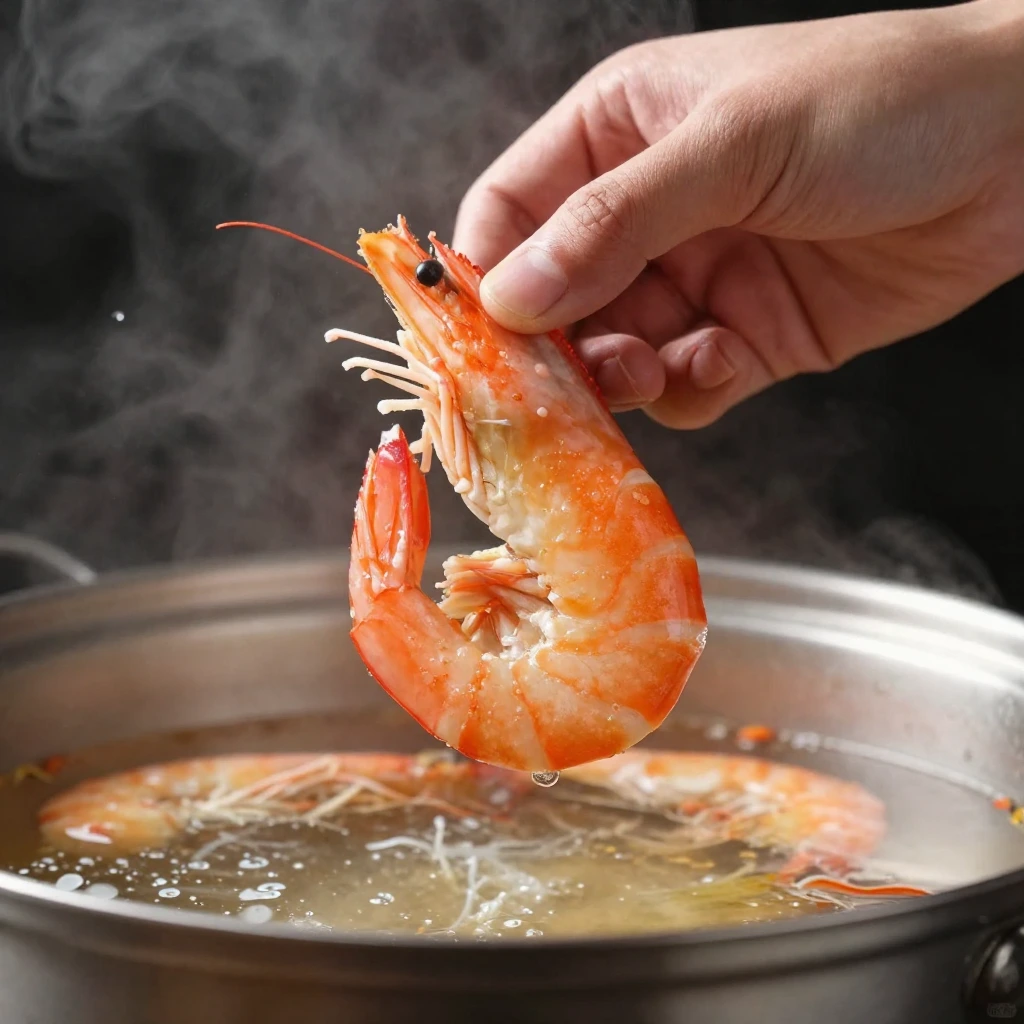
This initial process usually takes five to ten minutes total. Precooked items already went through that entire heating stage. They only require gentle reheating for two to five minutes maximum.
Applying full heat to precooked shrimp completely ruins the texture. You want to warm them through without tightening the muscle fibers again. Always adjust your timing based on the starting state.
Raw batches require direct contact with medium-high metal surfaces. Precooked batches benefit from brief exposure in warm sauces only. Mixing them up consistently leads to disappointing dinner results. Read the manufacturer label carefully before starting your prep.
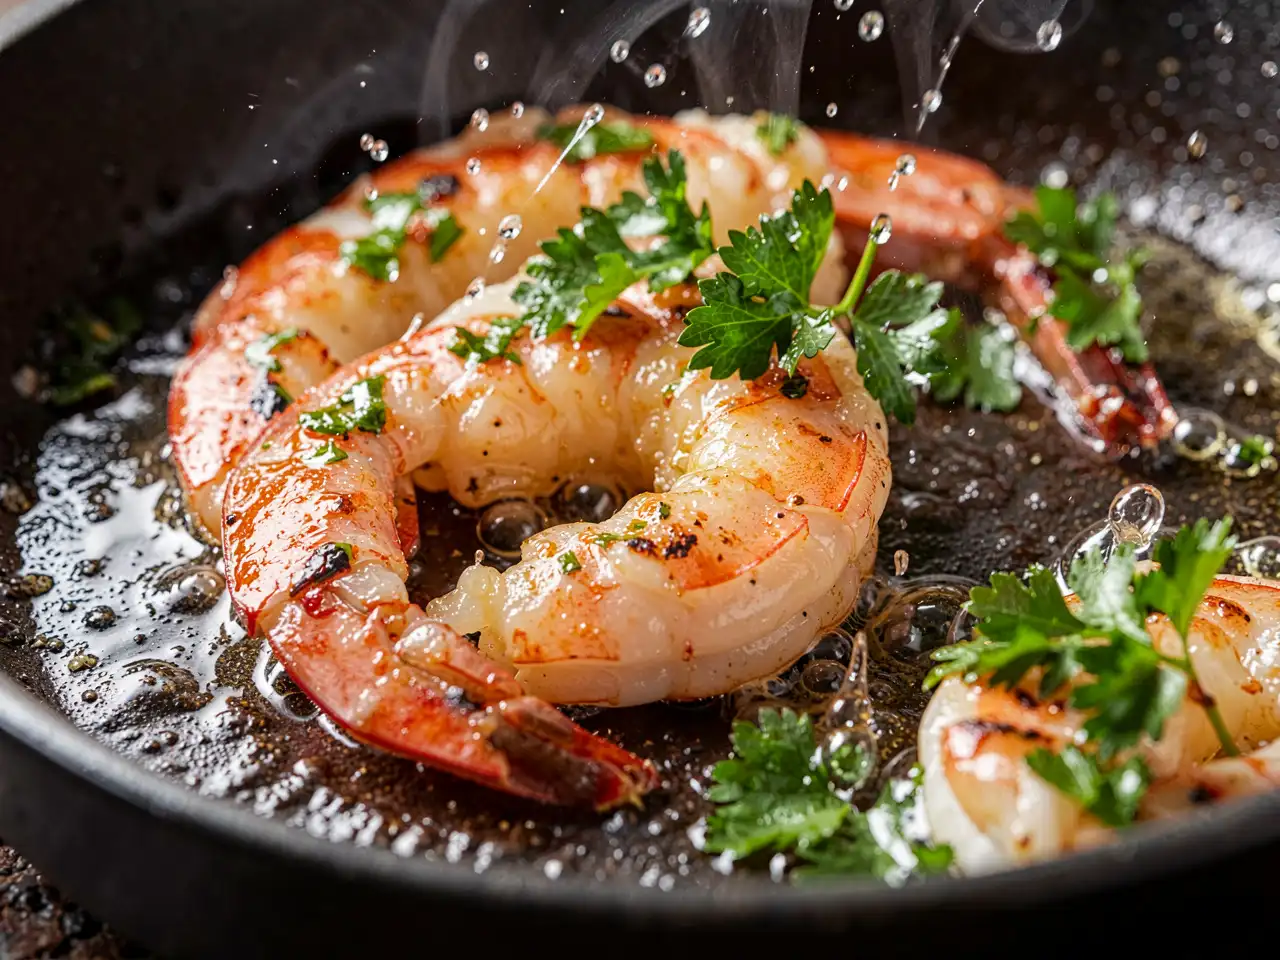
Stovetop Searing for Maximum Flavor Development
This traditional method delivers consistent browning and excellent temperature control. Preheat a heavy skillet over steady medium-high heat first. Add a thin layer of neutral oil or clarified butter.
Toss the frozen pieces directly into the hot metal surface. Listen carefully for the immediate sizzle as surface moisture evaporates. Cook each side for roughly two to three minutes total.
Season generously only after the exterior dries slightly. Overcrowding traps excess steam and prevents proper caramelization. You want direct metal contact for authentic searing marks.
Flip once when edges naturally curl into a loose C shape. Remove them immediately from the pan to prevent overcooking. A quick squeeze of fresh lemon brightens the natural flavors beautifully. This approach works perfectly for tacos, salads, or quick grain bowls.
Air Fryer Crisping Technique for Busy Nights
Convection airflow creates restaurant-style crisp edges with minimal effort. Preheat your basket to 400°F for at least three minutes. Toss frozen pieces with half a tablespoon of cooking oil.
Arrange them in a single layer without any stacking. Cook for eight to ten minutes total on the standard setting. Shake the basket halfway through the active cycle.
The circulating hot air removes excess surface moisture rapidly. This leaves a light crust over incredibly juicy centers. You avoid the greasy residue that traditional pans sometimes leave behind.
Season immediately after the digital timer finishes completely. The high airflow speeds up protein denaturation evenly across all pieces. Clean-up takes seconds since nothing sticks to the non-stick basket. This method suits chaotic weeknights perfectly well.
Oven Baking for Larger Family Batches
Sheet pans handle generous portions effortlessly during busy evenings. Line a standard baking tray with fresh parchment paper or foil. Spread the frozen pieces in one completely even layer.
Drizzle lightly with olive oil and coarse kosher salt. Bake at 400°F for ten to twelve minutes without opening the door. Check opacity around the eighth minute mark carefully.
Hot air circulates differently than focused convection fans. You get gentler heat penetration across the entire metal tray. This prevents burnt edges while thick centers warm through steadily.
Toss halfway through if you want even browning on all sides. The oven method frees up your stovetop for rich pan sauces. It works beautifully alongside roasted vegetables or steamed grains. Scale this up for dinner parties without added stress.
Common Pitfalls and How to Fix Them Quickly
Overcooking remains the number one complaint among beginners. Watch closely and remove at the very first sign of opacity. Skipping the preheat step causes uneven surface heating always.
Always bring your pan or oven to target temperature first. Adding cold marinades too early drops surface heat drastically. Season only after the exterior dries slightly on the metal.
Crowding the cooking space traps excess steam everywhere. Cook in separate batches if your pan feels too tight. Ignoring the raw versus precooked difference ruins entire meals.
Check product labels before applying high heat unexpectedly. Leaving seafood in hot liquid after cooking continues the process. Remove and rest on a cool metal plate immediately. Simple adjustments prevent every major kitchen mistake.
Chef Secrets for Restaurant Quality Results at Home
High heat creates the Maillard reaction quickly and efficiently. Searing develops complex savory flavors in under a single minute. Pat frozen pieces dry with thick paper towels before cooking.
Removing surface ice speeds up browning significantly across the board. Add acid like fresh lemon juice or dry white wine at the end. Acid brightens heavy butter or oil-based sauces beautifully.
Use garlic powder instead of fresh minced cloves. Fresh garlic burns instantly in hot oil and turns bitter. Rest seafood briefly before serving to redistribute internal juices.
Avoid cutting into them while they still sizzle audibly. Season layers with coarse kosher salt throughout the process. Salt penetrates deeper than fine table salt during short cooks. Trust your eyes and nose over rigid digital timers. Experience teaches you to recognize perfect doneness instantly.
Storage Tips for Leftovers and Meal Prep
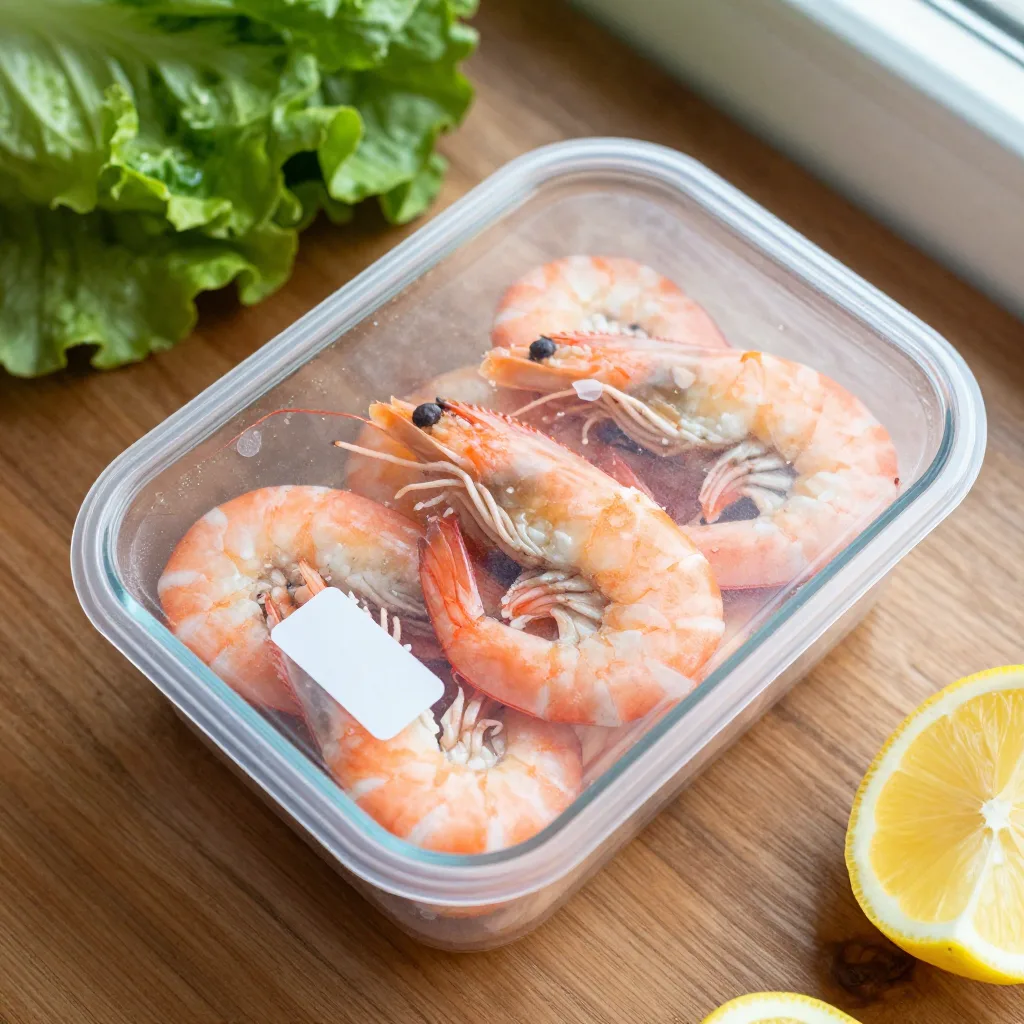
Cool cooked shrimp completely before storing in airtight containers. Trapped steam encourages bacterial growth and sogginess. Place them in a single layer if possible.
Refrigerate within two hours of cooking for maximum safety. Label containers with preparation dates to track freshness. Consume within three days for best quality and flavor.
Reheat gently using low heat or brief microwave bursts. High heat will toughen already-cooked protein fibers. Add a splash of broth or water to maintain moisture.
Freeze leftover cooked shrimp only if necessary for long-term storage. Wrap tightly in freezer-safe bags to prevent ice crystal formation. Thaw in the refrigerator before reheating gently.Use leftovers in cold applications like salads or sushi bowls. The chilled texture works beautifully without additional heating. Pair with crisp vegetables and tangy dressings.
Food Safety and Storage Guidelines for Home Cooks
Proper handling prevents foodborne illness completely and reliably. Always target an internal temperature of 145°F using an instant thermometer. Use a calibrated probe for absolute accuracy every time.
Store unopened commercial packages at 0°F or lower consistently. Thawed batches belong in the main refrigerator compartment immediately. Consume within one to two days for maximum safety.
Keep raw seafood completely separate from fresh produce always. Cross-contamination spreads harmful bacteria to ready-to-eat foods rapidly. Wash all countertops with hot soapy water after prep work.
Sanitize cutting boards that touched raw packaging materials carefully. Discard any seafood that smells sharply like ammonia or sourness. Trust proper packaging dates and obvious freezer burn signs. Following these rules guarantees healthy meals every single weeknight.
Frequently Asked Questions
Can I skip thawing and cook directly?
Yes, you can cook frozen shrimp straight from the commercial bag. Simply add two extra minutes to your standard cooking time. Ensure the internal temperature reaches 145°F before serving.
What indicates perfect doneness?
Look for a uniform pink color with opaque white flesh throughout. The texture should feel firm but still springy to gentle pressure. Avoid waiting until they curl into tight O shapes.
Which appliance yields the crispiest results?
An air fryer or heavy cast-iron skillet provides superior browning consistently. Both methods remove surface moisture quickly while preserving interior juiciness. The convection airflow mimics professional deep-frying without excess oil.
How do I prevent rubbery textures completely?
Remove the seafood the moment it turns pink and fully opaque. High heat for short durations prevents protein over-tightening naturally. Resting them on a cool plate stops residual cooking immediately.
Can I refreeze seafood after heating it once?
Never return cooked seafood back into the household freezer. Repeated temperature fluctuations encourage harmful bacterial growth rapidly. Store leftovers in airtight containers in the refrigerator for up to three days instead.
Conclusion
Cooking frozen seafood straight from the freezer remains one of the smartest time-saving strategies for modern kitchens. You skip tedious thawing steps while preserving natural moisture and fresh flavor profiles.
Mastering heat control and precise timing transforms ordinary ingredients into restaurant-quality meals. Whether you prefer a quick skillet sear, a crisp air fryer finish, or a gentle oven bake, success depends on respecting protein chemistry.
Always monitor opacity, trust your thermometer, and remove the pan at the first sign of perfection. Proper safety practices keep every dish healthy and delicious. Armed with these techniques, you will never fear a frozen bag again. Your weeknight dinners become faster, cheaper, and infinitely more satisfying. Start applying these methods tonight and taste the difference immediately.